A repair can look great under shop lights and still deserve a careful look before you drive away. Knowing how to inspect repaired panels gives you a chance to ask questions while the repair team, paperwork, and vehicle are all in the same place. You do not need body-shop experience to spot the details that matter. A few minutes, good lighting, and a calm walk-around can tell you a lot about the quality of the finished work.
Start with the repaired area, then step back and look at the vehicle as a whole. The goal is not to search for imaginary flaws. It is to confirm that the panel fits correctly, the paint blends naturally, and the vehicle feels like yours again.
Inspect repaired panels in good light
Lighting changes what you can see. If possible, inspect the vehicle outdoors in daylight or ask to view it from more than one angle. Bright direct sun can reveal surface texture, while shade makes it easier to judge whether the color blends into adjacent panels.
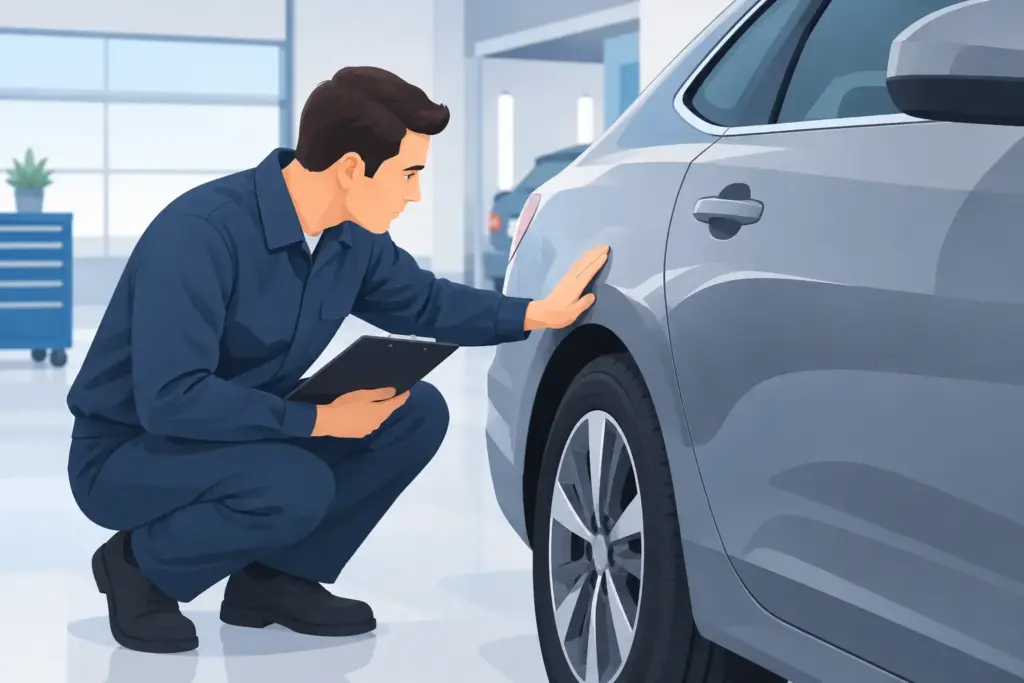
Stand several feet away first. Look along the side of the vehicle rather than directly at it. This low-angle view helps reveal waves, dents, uneven reflections, or a repaired section that does not sit flush. Then move closer and inspect the panel from different directions.
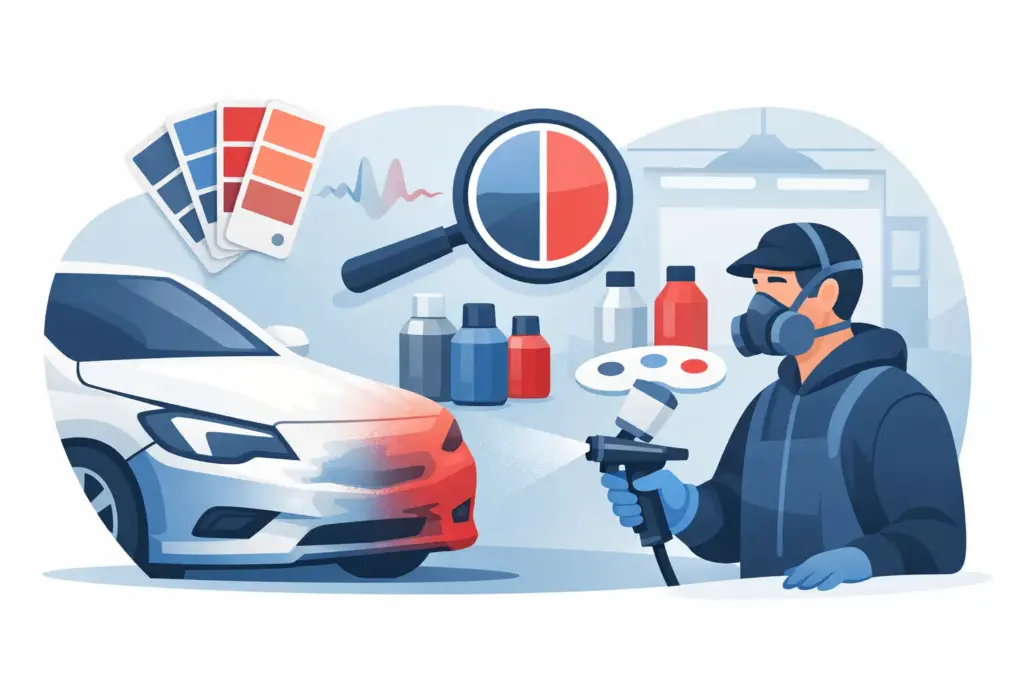
Fresh repairs may look slightly different under certain light because metallic paint, pearl finishes, and older faded paint all reflect light differently. A professional color match is not always a perfectly identical square of color on an older vehicle. What matters is whether the repaired area blends naturally with the surrounding panels under normal viewing conditions.
Check paint color, texture, and finish
A quality paint repair should have an even gloss and a smooth appearance. Run your eyes across the surface for dull spots, roughness, drips, dust trapped in the clear coat, or tiny circular sanding marks. Do not press hard on newly repaired paint or use an abrasive cloth, but a very light touch can help you notice a rough or uneven surface.
Look closely at the edges around door handles, mirrors, moldings, headlights, and wheel openings. Paint should be cleanly finished, without obvious masking lines or overspray on trim, glass, tires, rubber seals, or chrome. A faint transition may be visible in some repairs when viewed extremely closely, particularly on a panel that needed blending, but it should not catch your eye during normal use.
Orange peel is another term you may hear. It describes a slightly textured finish that resembles an orange skin. Factory paint is not always perfectly flat, so some texture is normal. The question is whether the repaired panel has a noticeably different texture from the panel beside it. If one door looks glass-smooth and the fender next to it looks heavily textured, ask the shop to explain the difference.
Look at panel gaps and alignment
Panel alignment affects both appearance and function. Compare the gaps around the repaired panel with the gaps on the opposite side of the vehicle. For example, if a front fender was repaired, compare the spacing around the hood, bumper, and front door on both sides.
Gaps do not have to be identical to the millimeter on every vehicle, especially on older vehicles or trucks with factory variations. They should, however, look consistent and intentional. Watch for a gap that narrows sharply at one end, a panel that sits proud of its neighbor, or a bumper edge that seems loose.
Open and close nearby doors, the trunk, tailgate, or hood if those areas were involved in the repair. They should latch securely without needing extra force. A door should not rub a fender, strike a weather seal, or make a new creak when it moves. If a collision affected the front or rear of your vehicle, make sure the hood or liftgate releases, closes, and aligns correctly.
Do not skip lights, trim, and moving parts
A panel repair often involves removing and reinstalling more than the panel itself. Headlights, taillights, sensors, grilles, wheel-well liners, badges, mirrors, and trim pieces may all need to come off during the repair process. These parts deserve the same attention as the paint.
Before leaving, take a few minutes to check the basics:
- Turn on headlights, high beams, turn signals, brake lights, hazard lights, and reverse lights.
- Test power windows, locks, mirrors, the backup camera, and parking sensors if work was done near them.
- Check that trim pieces are firmly attached and that weatherstrips sit flat around doors and glass.
- Look inside the trunk, cargo area, or under the hood for loose clips, missing fasteners, or leftover repair materials.
- Confirm that the repaired area is clean and free of tape residue, compound dust, or overspray.
Modern vehicles can have sensors and cameras behind bumpers, windshields, mirrors, and grilles. Depending on the repair, recalibration may be needed. Ask whether any driver-assistance systems were checked or recalibrated, especially if the repair involved a bumper, suspension, windshield, or front-end collision.
Take a short test drive
A walk-around tells you how the vehicle looks. A brief drive tells you how it behaves. Keep the first drive simple and stay near the shop if possible. Listen for rattles, rubbing, wind noise, or squeaks that were not there before.
Pay attention to whether the steering wheel sits straight when you are driving on a level road. The vehicle should not pull to one side, vibrate at highway speed, or feel unstable over normal bumps. These symptoms can point to alignment, tire, suspension, or wheel issues that may be related to the original impact rather than the body panel itself.
If a door, bumper, or wheel-well area was repaired, listen for unusual noise over small bumps and during turns. Not every new sound is caused by the repair, but bringing it up early makes it easier for the shop to inspect.
Review the repair order before you go
Your final repair order should clearly show what was repaired or replaced. Compare it with the estimate and ask about any changes made during the repair process. Supplemental damage is common after a vehicle is disassembled, especially after a collision, so a higher final repair amount is not automatically a concern. The shop should be able to explain why the additional work was necessary and how it was approved.
Ask whether replacement parts were original equipment, aftermarket, recycled, or reconditioned when that distinction matters to you or your insurance policy. Each option can have a place depending on availability, cost, insurer guidelines, and the condition of the part. The important thing is that you understand what was installed on your vehicle.
Also keep the warranty information with your records. Paint and body repairs should be backed by clear workmanship coverage. At RWORKS, customers receive a lifetime warranty on qualifying repair workmanship, along with straightforward communication about the work completed.
What deserves a follow-up question?
A small amount of dust on a tire or a faint paint smell right after pickup may be normal. Obvious paint mismatch, loose trim, warning lights, poor panel alignment, water leaks, or a vehicle that drives differently are not details to ignore. Point them out before you leave when possible, and take clear photos if you notice an issue later.
Most reputable repair shops want the opportunity to make things right. Be specific about what you see, where it occurs, and whether it happens while parked or driving. A clear description such as “the rear door rubs the quarter panel when opening” is far more useful than “something seems off.”
Give yourself permission to slow down at pickup. A careful inspection is not distrustful – it is part of protecting your vehicle, your safety, and the investment you have made in getting it repaired properly.