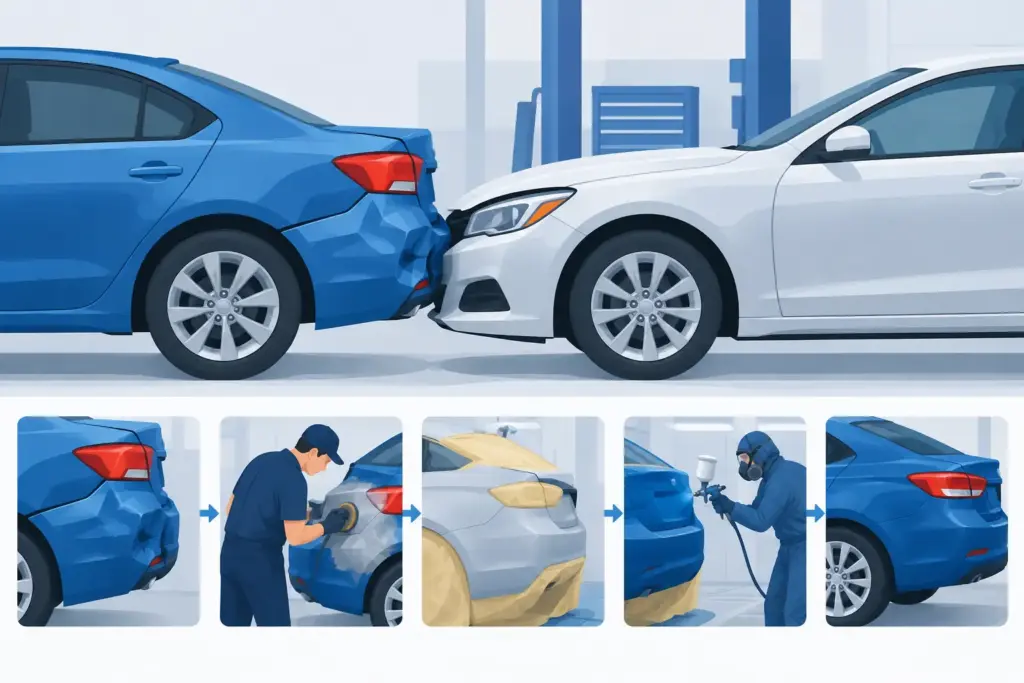
A rear end collision repair example can look simple from the outside: a dented bumper, a cracked taillight, and some scraped paint. But the repair decision should never be based on the bumper alone. A low-speed impact can transfer force into brackets, reinforcement bars, trunk components, sensors, suspension parts, and the vehicle structure behind the visible damage.
Consider a common situation. A San Antonio driver is stopped in traffic when another vehicle bumps the rear of their sedan. The car is drivable, the trunk still opens, and the bumper mostly holds its shape. That is encouraging, but it is not a complete diagnosis. The right repair starts with a careful inspection and a plan based on what the vehicle needs, not just what can be seen in a parking lot.
Rear End Collision Repair Example: From Estimate to Delivery
In this example, the vehicle arrives with a scuffed rear bumper cover, a broken passenger-side taillight, and a small gap between the bumper and quarter panel. The owner has filed an insurance claim and needs to know two things quickly: Is the car safe to drive, and how long will the repair take?
A repair professional begins by documenting the damage with photos and preparing an initial estimate. That estimate may include the bumper cover, taillight, mounting hardware, refinishing materials, and labor to remove and reinstall related parts. If the vehicle has parking sensors, a backup camera, blind-spot monitoring, or rear cross-traffic alerts, those systems must also be considered.
The initial estimate is a starting point, not a promise that nothing else will be found. Much of the important work happens after the bumper cover is removed. This is when the shop can inspect the components designed to absorb impact energy and the metal panels behind them.
What the bumper was hiding
Once the bumper is removed in this rear end collision repair example, the technician finds a cracked energy absorber and a bent bumper reinforcement bar. The trunk floor and rear body panel appear intact, which is good news. However, one mounting bracket is distorted, explaining why the bumper no longer sat flush against the quarter panel.
This is a common moment for a repair plan to change. The damage was not obvious during the walk-around, but it matters. Reinstalling a new bumper cover over damaged reinforcement components may make the car look better temporarily while leaving poor fit, reduced crash protection, or recurring sensor issues.
The shop documents the newly discovered damage and submits a supplement to the insurer if the repair is being handled through a claim. For a direct-pay repair, the customer should receive a clear explanation of the additional parts and labor before work moves forward. Transparent communication is especially valuable here because hidden damage can feel frustrating when the first estimate changes.
The Repair Plan: Replace, Repair, or Refinish?
Not every rear-end impact requires the same solution. In this case, the damaged bumper cover has a deep crease near the corner and broken attachment tabs. Repairing plastic can be appropriate for some scuffs, shallow dents, or minor cracks, but a cover with damaged mounting points may not fit or hold correctly after repair. Replacing it is the better long-term choice.
The reinforcement bar, energy absorber, taillight, and distorted bracket are also replaced. The rear body panel is measured and found to be within specification, so structural repair is not necessary. That distinction matters. A thorough shop does not add major work that the vehicle does not need, but it also does not skip inspection simply because the damage initially appears minor.
Before reassembly, the technician checks surrounding panels, trunk operation, weather seals, and wiring. A rear impact can pinch harnesses or shift components just enough to create water leaks, warning lights, or trunk-latch problems later. Catching these details before paint and reassembly protects both the customer and the quality of the finished repair.
Paint Matching Is More Than Finding the Color Code
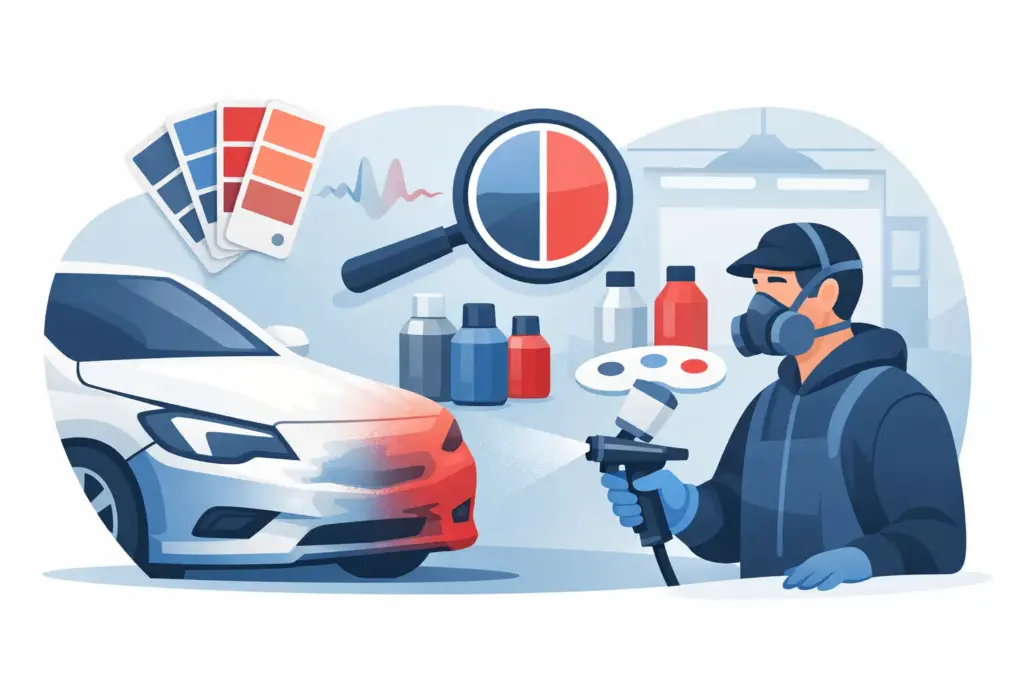
A replacement bumper cover does not arrive painted to match the vehicle. It must be prepped, primed as needed, painted, cleared, and cured. Even when the factory color code is correct, paint can vary because of age, sun exposure, previous repairs, and the angle of adjacent panels.
For this sedan, the painter creates a spray-out card to verify the color before applying it to the bumper. Depending on the color and the panel layout, the repair may call for blending into an adjacent quarter panel so the transition is not noticeable in normal daylight. That can add time and material cost, but it can be the right choice when a direct bumper-only paint match would be visible.
Good refinishing is not just about shine. The bumper needs consistent color, texture, and gloss, while edges and sensor openings need clean coverage. Rushing paint work often shows up later as mismatched panels, dirt in the finish, rough texture, or peeling around repaired areas.
Sensors, Alignment, and Safety Checks
Modern vehicles add another layer to a rear collision repair. After the bumper is installed, parking sensors, cameras, and driver-assistance components must be checked. Some vehicles require calibration after a sensor, bracket, bumper cover, or related component has been replaced. The exact process depends on the make, model, and equipment package.
The technician also checks the rear suspension and performs an alignment inspection. A straight-looking bumper does not guarantee the impact did not affect suspension geometry, especially if the other vehicle hit at an angle or pushed the car forward. Uneven tire wear, a crooked steering wheel, pulling, or an off-center vehicle stance are signs that alignment and suspension concerns deserve attention.
In this example, the alignment readings are within manufacturer specifications, so no adjustment is needed. That is still a useful result. It confirms the repair process included a safety-focused check rather than an assumption.
Before delivery, the vehicle receives a final quality-control inspection. The shop verifies panel gaps, trunk function, taillight operation, sensor performance, paint appearance, and any required calibration documentation. The car is also road-tested when appropriate to confirm there are no unusual noises, warning lights, or drivability concerns.
What Affects Rear-End Repair Time and Cost?
Drivers often want a firm answer at the first estimate, and a reputable shop should provide the clearest timeline possible. Still, the final schedule depends on several practical factors: the extent of hidden damage, insurance approval, parts availability, paint and curing time, and whether electronic calibrations or structural measurements are required.
A cosmetic bumper scuff may be handled much faster than a collision involving a crushed reinforcement bar, damaged trunk floor, suspension issue, or advanced safety systems. Insurance claims can also move at different speeds depending on the carrier and whether a supplement is needed. The most useful update is an honest one, even when the answer is that the shop is waiting for an approved repair or a backordered part.
For customers paying out of pocket, it can be reasonable to discuss repair options based on the vehicle’s age, condition, and goals. A quality repair should still prioritize proper fit, safety-related components, and durable paintwork. Saving money by ignoring damaged brackets or safety equipment usually costs more when the problem returns.
What to Do After a Rear-End Collision
If your vehicle has been hit from behind, take photos of the visible damage, exchange insurance information, and watch for changes in trunk operation, warning lights, fluid leaks, or unusual handling. If the bumper is loose, lights are broken, or a warning message appears, have the vehicle inspected before relying on it for daily driving.
Bring the vehicle to a repair facility that can evaluate more than paint and dents. At RWORKS, drivers can get help with the estimate, insurance claim process, collision repair, painting, and alignment-related concerns in one place, along with clear updates as the repair moves forward.
The best outcome is not simply a bumper that looks new from ten feet away. It is a vehicle that fits correctly, functions as intended, and gives you confidence every time you close the trunk, back out of a space, and head down the road.