A freshly repaired vehicle can look great at a quick glance, especially when you are eager to get back to normal after an accident. Knowing how to spot poor paintwork gives you a better way to inspect the repair before you drive away – and a clearer way to raise concerns if something does not look right.
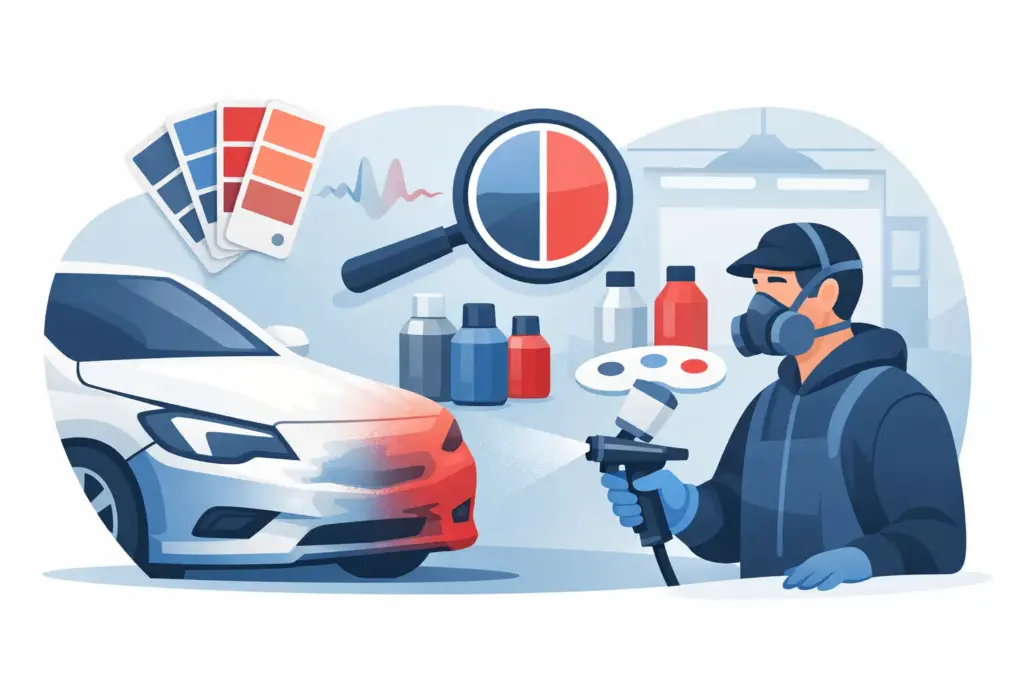
Paint repair is more than applying a matching color. A proper finish requires careful body preparation, color matching, blending, masking, spraying, and curing. Even a small shortcut can become visible in bright San Antonio sunlight or after the first car wash. The good news is that you do not need to be a painter to recognize the most common warning signs.
How to Spot Poor Paintwork in the Right Conditions
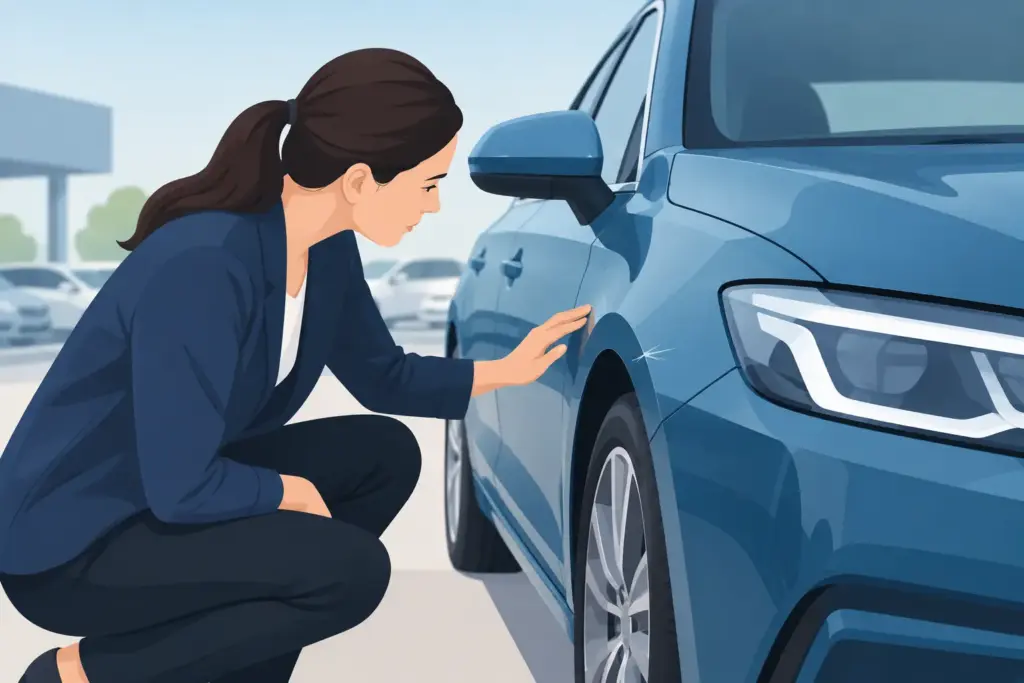
Do not judge a repaired panel only under indoor shop lights. Ask to see the vehicle outside, preferably in natural daylight. Sunlight makes color differences, surface texture, and sanding marks much easier to see. If the weather is overcast, use your phone’s flashlight at a shallow angle across the panel to help reveal imperfections.
Start with a clean, dry vehicle. Dust, water spots, and road grime can disguise flaws, while wax or a heavy polish can make a finish look better temporarily. Take a few steps back first, then move closer. Look at the repaired area from straight on, from each side, and from a low angle. A quality repair should blend into the rest of the vehicle rather than draw your eye to one section.
It also helps to compare the repaired panel with the panel beside it. For example, if a rear door was repaired, compare it to the front door and quarter panel. Paint color can appear different depending on the angle, so look from more than one position before deciding there is a mismatch.
Check for Color Mismatch and Uneven Blending
A color mismatch is one of the most noticeable paint problems. It may look like the repaired panel is slightly too dark, too light, too warm, or too cool compared with the surrounding panels. Metallic and pearl finishes can be especially challenging because the paint particles reflect light differently depending on spray technique and viewing angle.
Some variation can be possible on an older vehicle because the original paint has faded over time. That is why skilled shops often blend color into the neighboring panels rather than stopping the new paint at the repair line. The goal is not simply to match the paint formula on paper. The goal is for the repaired area to look consistent with the vehicle as it sits in real light.
Look along body lines, door edges, and panel gaps. These are common places for a color transition to become apparent. If you can clearly identify where the new color begins, ask the shop to explain the repair process and whether the finish can be corrected.
Watch for a cloudy or blotchy appearance
On metallic finishes, poor application can create a patchy, striped, or cloudy look. One part of the panel may reflect more brightly than another, even when the base color is technically correct. This is sometimes called mottling or tiger striping. It is not something a customer should have to overlook on a completed repair.
Feel for Rough Texture, Runs, and Dust in the Clear Coat
After looking at the paint, gently run clean fingertips over the repaired panel. The surface should feel smooth and even. Do not press hard, and avoid doing this if the shop advises that the paint needs additional curing time. Still, a finished repair should not feel gritty, lumpy, or rough compared with the surrounding panels.
Orange peel is a common term for paint texture that resembles the skin of an orange. Factory paint is not always perfectly glass-smooth, so a small amount of texture is not automatically a sign of poor work. What matters is consistency. If the repaired panel has dramatically heavier texture than the panels around it, the finish may not have been properly leveled and polished.
Also inspect for paint runs or sags. These look like thick drips or wavy trails where paint flowed before it cured. In bright light, they can be easy to spot near lower edges, mirrors, handles, and complex curves. Dust nibs – tiny particles trapped in the clear coat – can happen in any paint environment, but multiple visible defects across a panel deserve attention.
Look Closely for Overspray and Poor Masking
Overspray occurs when paint mist lands on areas that were not meant to be painted. Check the glass, trim, rubber seals, door jambs, wheels, headlights, taillights, and nearby panels. Overspray may feel rough or look like a faint colored haze. On black plastic trim or rubber weatherstripping, it often appears as an obvious dull coating.
Poor masking can also leave hard paint lines around moldings, door handles, emblems, or panel edges. A clean repair should have neat transitions in these areas. In some cases, removing and reinstalling parts produces a better result than simply masking around them. The best method depends on the vehicle and the location of the damage, but the finished appearance should look intentional and clean.
Open the doors, trunk, and hood where appropriate. You are not looking for paint everywhere inside the vehicle. You are checking whether visible edges, jambs, and adjacent surfaces were protected properly and whether the repair matches the scope of the original damage.
Check the Bodywork Under the Paint
Paint can hide bodywork problems for a short time, but it cannot correct them. Look down the side of the vehicle with light reflecting across the panel. The reflection should move smoothly. Waves, dents, ripples, or a distorted reflection can point to uneven filler work or incomplete panel straightening underneath the paint.
Pay attention to panel gaps as well. Doors, hoods, bumpers, and fenders should align evenly with nearby panels. Paint quality and structural repair quality are connected: a beautiful color match does not make up for a bumper that sits unevenly or a door that rubs when it closes.
For collision repairs, make sure lights, sensors, trim pieces, and moving panels work as expected. A vehicle may need calibrations or final adjustments after more extensive damage. Ask questions before leaving if a warning light is on, a sensor seems different, or a panel does not open and close normally.
Be Alert for Problems That Show Up Later
Not every paint defect appears on pickup day. Peeling clear coat, cracking, blistering, shrinking, and loss of gloss can develop weeks or months later if the surface was not prepared correctly, contamination was present, or the paint did not cure as it should.
Take clear photos of the vehicle when you pick it up, including close-ups of the repaired area in daylight. If you notice a concern later, photos provide a helpful record of what you saw and when. Follow the shop’s care instructions, too. Fresh paint may need time before waxing, automated washing, or exposure to harsh chemicals.
A reputable repair center should stand behind its workmanship and explain what its warranty covers. Normal wear, rock chips, and new damage are different from a paint failure related to the repair, so it is reasonable to ask for a straightforward explanation of the coverage.
What to Do if the Paintwork Does Not Look Right
If you find a concern, bring it up calmly before accepting the vehicle. Point to the specific area and describe what you see: a color difference in sunlight, roughness near the door handle, overspray on trim, or a run in the clear coat. Specific details make it easier for the estimator or repair team to inspect the issue fairly.
Avoid assuming every difference means the job was done carelessly. Some factory panels have texture, older paint can fade unevenly, and certain repairs require blending that may be difficult to judge under one type of light. Still, you should not feel pressured to accept visible flaws without an explanation or a plan to address them.
At RWORKS, we believe a repair should give you confidence when you walk up to your vehicle, not leave you wondering what you missed. Take a few extra minutes to inspect the finish, ask the questions you need answered, and choose a repair partner willing to stand behind the work long after you leave the lot.